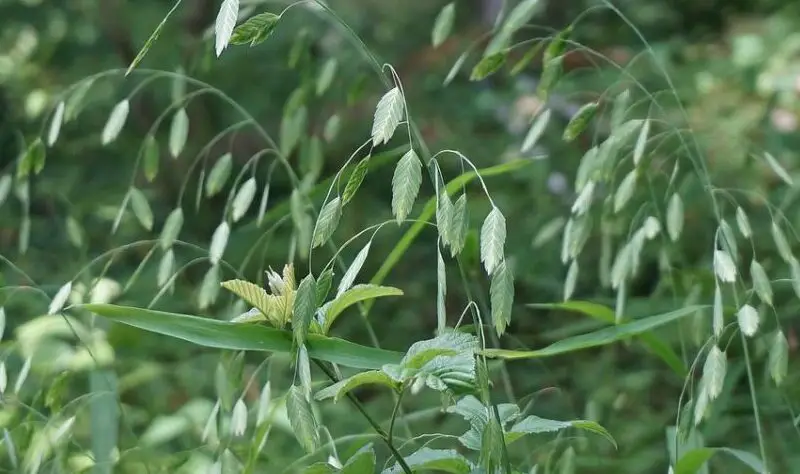
This cereal has been cultivated for thousands of years and is used in our vegetable gardens as a green manure. Sown in the flower beds before or after the main vegetable species, oats clean the soil, improve its structure and enrich it with nutrients.
Contents
Can you grow oats at home?
Oats are used in many ways, whether they are ground, rolled or milled into flour. Oats are even used to brew beer in England and in Latin America, a cold drink made from ground oats and milk is popular.
But I digress, we were wondering about growing oats in vegetable gardens. It is very possible to grow your own oats even if you only have a small garden. The introduction of hull-less oats has made it even easier to grow your own oats, as they require less processing once harvested.
Planting Oats
Where to plant oats?
Oats are undemanding and adaptable to all climatic conditions and soils. They can withstand cold and wet conditions as well as poor and acidic soils. It only suffers from drought and heat.
It requires a sunny or half-shaded situation.
When to plant oats?
The two planting times are from late winter to early spring (between February and early April), or from late summer to fall (September to December).
How to plant oats?
In the garden, it is best to plant oats in full sun. The pH of the soil should be 6 to 7. In any case, the soil must be well drained, even if it is poor or of average quality. This grass is drought tolerant, but prefers to be watered regularly.
Sowing oats in the garden is a breeze!
Prepare the soil by breaking up any clumps that are at surface level. Also, use a rake to remove the coarse material from the seedbed. The smaller the oat seed, the finer the plant will be. Sow seeds smaller than 2 mm in a row or broadcast. Thicker seeds (2 to 4 mm) can be sown in rows with a few inches between each seed.
Larger seeds should be planted in a pile: dig a small hole and place 2 to 5 seeds in it. Cover the seeds with 2 to 3 times their height, add soil. If your soil is very heavy, mix the soil with sand.
Cultivation and maintenance of oats
During the first few weeks after planting oats, water regularly. If possible, try to avoid watering in the afternoon to minimize the amount of water lost to evaporation. Early morning or evening watering is best.
Potted oats, on the other hand, should be watered if the substrate seems dry.
Look at it or put your finger on the soil to determine if the plant needs water or not.
Depending on the variety of oats, it may be necessary to prune in the fall to rid the perennial of old leaves if they look damaged.
Germination takes place in 10 to 20 days. Oats require no special maintenance until mowing.
- For late winter seeding, mow in June, just before flowering, when the plant has stored the maximum amount of nitrogen but is still tender, making it easier to crush and decompose.
- For fall seeding, leave the oats in place all winter, which maintains a ground cover on the soil. Mow as soon as tillage is possible, before spring planting and seeding.
After mowing, you can simply mulch the stems using a mower in the up position. Let the stems dry on site (for a week under favorable conditions: soft grass and favorable weather, with dry and warm weather), then use a claw to incorporate the shredded material into the first few centimeters of the soil. If the surface is large, the rotovator will replace it effectively.
After burying, wait one month to cultivate a vegetable species.
Harvesting oats
Don’t wait to harvest until the kernels are hard or you will probably lose a lot of grain. The kernel should still be soft and easily dented with a fingernail.
To harvest oats, cut the seed heads off the stalks as high as possible. The higher the better, as you will have less straw to deal with as the grain is threshed.
Now that the oats are harvested, you need to let them cure. The length of the cure will vary depending on the weather and can range from several days to several weeks. Store the oats in a warm, dry place while curing.
Once the grains are ripe, you can thresh the oats. Spread a tarp or sheet and then peel the oats off the stalks (cover the oats first before stomping them) or use another tool, such as a plastic baseball bat, to beat the oats off the stalks (chaff).
Next, separate the oats from the left on the stem pieces.
Place the oats and chaff in a bowl or bucket and toss it into the wind. The wind will blow the chaff free while the heavier oats fall back into the bowl or bucket.
Threshed oats can be stored in an airtight container in a cool, dark place for up to 3 months.
Diseases, pests and parasites
Oats can be affected by crown rust, a fungal disease (due to the development of a fungus) that negatively affects the yields of the plant in agriculture; but for oats grown as a green manure, this disease has no consequence!
