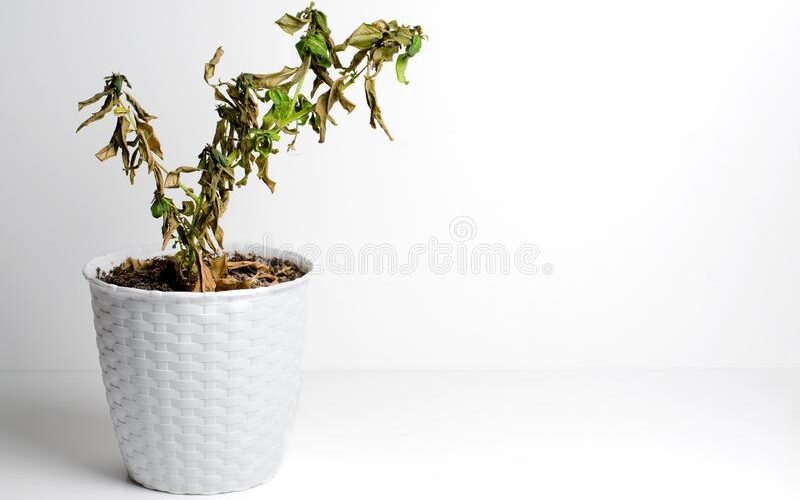
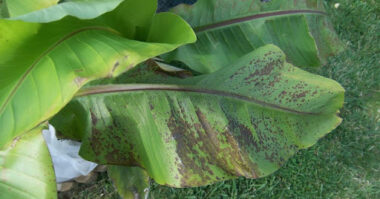
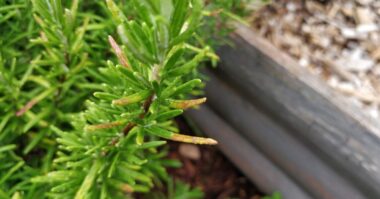
After a prolonged absence or an equally prolonged lapse of memory, you find yourself faced with a plant in poor health. It is completely wilted.
Before throwing it away, you naturally ask yourself if it is possible to save it. Here’s how to proceed.
Contents
11 ways to save a wilted plant
1. Is it possible to save a wilted plant?
Yes, it is possible! There are many techniques and they depend on the state of desiccation of the plant. Whatever happens, always try to save the plants before throwing them away.
2. How to rehydrate a wilted plant?
To save a desiccated plant, you have to bathe it. This way, it can hydrate at its own pace and regain its strength. Don’t forget the leaves! To hydrate them, use a misting machine.
3. Where to place a plant to be saved?
A wilted plant must be watered abundantly and then placed in natural light. If you have a veranda, this is the ideal place. Otherwise, place your plants near your windows. Make sure the soil is always moist.
4. Should I repot a wilted plant?
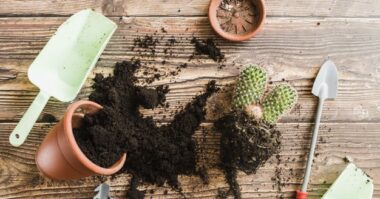
Yes, once the plant has regained its strength, you should repot it. Use potting soil and put some fertilizer in it. Make sure that the soil is aerated so that the water drains perfectly and the plant can gorge itself on the nutrients present in the soil.
5. Check if the plant is still alive
The first step is to check if the plant can still be saved! To do this, scrape the base of the stem with the tip of your fingernail.
If you find green under the first layer, the plant is still alive. If the center of the stem is brown, that part of the stem is dead.
You can also test the stem by trying to bend it gently. A living stem is flexible. If the stem breaks off sharply, that part of the plant cannot be saved.
However, do not throw the plant directly into the garbage. Even if the stem is dead at the base, the roots may still be able to produce a beautiful plant, if given a little push!
6. Cut off the top of the stem
Once you’ve determined that part of the stem is dead, it needs to be cut off. With the pruning shears, remove all the dry, brown part of the plant.
If you are not sure where the stem is still alive, cut every 1 inch from the top. As soon as you see the green heart of the stem, it’s good!
If you have to, cut the stem all the way down to the base, leaving only the roots, after which you’ll just have to be patient to see if the roots will produce, or not, a new plant.
Be careful for outdoor plants, you must wait until the winter is over before proceeding with this step.
If you expose the green heart of the stem just before a frost, it could be fatal to your plant!
7. Moving the plant
As you probably know, exposure to sunlight is an essential part of a plant’s survival. However, all plants are unique and do not need to be placed in the same location.
Some will be healthier with only indirect light, others need to be in full sun.
If your plant looks wilted, it may be because it is not getting the right exposure. Whether it’s a houseplant or a garden plant, now is the time to move it if necessary.
Find out what your plant’s particular needs are and be mindful of shadows from trees and even your house!
8. Change watering habits
In addition to sunlight, the plant also has a vital need for water. But again, not every plant should receive the same type of watering.
Some require heavy daily watering, while others require simple moistening of the leaves and soil.
Find out how much water your plant needs and observe its appearance: if the stem and leaves are completely dry, the plant probably didn’t get enough water.
On the other hand, if the base of the plant and the roots have started to rot, it is because it was receiving too much water!
For houseplants, also consider the general humidity of the room in which you place it. Plants also absorb moisture through their leaves, so the quality of the air contributes to its flourishing!
9. Look for a nourishing fertilizer
To give your plant a boost, you need to make it a good, nourishing dish.
Go to a garden store with the name or picture of your plant and ask for a suitable fertilizer. The salespeople will be able to tell you which fertilizer is most effective for your plant.
Roses do not need the same components and minerals as a mimosa!
Also, ask the store about the method of administering the fertilizer.
While most of the time you simply add the fertilizer to the soil around the stem, some plants do not react well to direct contact with the fertilizer. In this case, the fertilizer should be diluted in the water!
10. Saving cuttings
If you don’t think you can save the plant, but there are still some living parts left, there is still time to take cuttings!
Cut off the living parts of the plant and put them in a glass of water. You can also place them in absorbent cotton or paper soaked in water if your cuttings are really small and fragile.
Wait a little while to see if the plant pieces start growing again in this new environment. As soon as possible, transfer your cuttings to the soil, to a pot or directly to the garden!
11. Compost
If the plant has died despite your best efforts, you can still give it a second life by composting it!
Once in the compost bin, the plant will eventually become a perfect fertilizer that will help your new plants grow healthy.
It’s the circle of life!
