It’s time to propagate our spider plants, so we can grow them in our flower boxes this summer. The spider plant (Chlorophytum comosum) is one of the easiest plants to reproduce. Indeed, the plant produces, at the end of stolons, a multitude of offspring.
As soon as they start to develop their root buds (you can see them at the end of the tuft of the little spider), you prick them in a pot on the surface of the soil, while leaving them attached to the mother plant.
Contents
Should I cut the babies from the spider plants?
This is a matter of convenience more than anything else. It is important to know that cutting the baby spider plants will not prevent them from growing into beautiful plants.
If you can replant them without cutting them back (by placing a pot right next to them), do so, and they will grow all the faster.
If you can’t replant them without cutting them, don’t panic, we explain you how to do it below:
How to cut spider plant babies ?
To be able to cut your spider plant, you have to make sure that your plant has made shoots. If you see long stems with leaves at the end, it is a shoot.
Using a pair of well-disinfected pruning shears or scissors, cut flush with the shoot. The cut should be as clean as possible to give you the best chance of taking a cutting.
Then place the offshoot in water. If you have the possibility, use rain water. If not, draw water the day before to let the limestone evaporate. Cuttings do better in water without lime.
For the container, you can use test tubes, glass jars or soliflores. The container can be transparent or opaque, just make sure it is placed in a bright place and in a warm room (68°F ideally).
Now all you have to do is wait and watch the roots grow. Depending on the environment, the development can be very fast. After only a few days, I already had roots on a shoot. As soon as the root system is well developed, you can put your plant in a pot with potting soil.
The spider plant is very easy to cut, it is the ideal plant to begin in the cutting.
Other methods to cut a baby spider plant
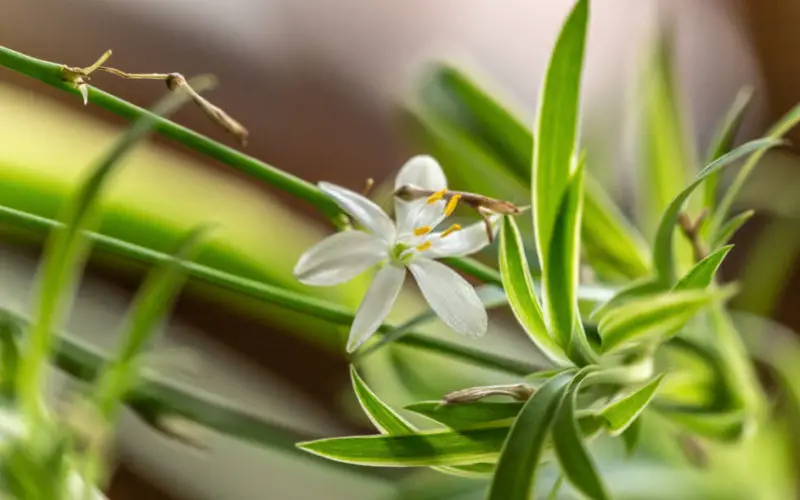
The spider plant produces stems, the stolons, at the end of which appear small white and yellow flowers, which will then give way to small seedlings (young plants at its end).
Multiplying your spider plant is very simple.
You have the choice between 3 techniques: layering, cuttings or clump division.
1. Air layering
Without detaching it from its mother plant, put a seedling in a pot containing a mixture of potting soil and garden soil, water it regularly.
About 1 month and a half later, the roots will have developed well, and you will just have to cut the stem that connects the young spider plant to its mother plant.
2. Cutting
Choose a nice seedling with leaves of at least 3 inches and detach it from the stolon with a chisel.
In order for the roots to develop, put your seedling in a glass of water.
When the roots reach 1 inch (count 2 or 3 weeks), plant your young Phalanx.
Then cultivate it like your other adult plants.
3. Division of the clump
In spring (for example, when repotting), take your spider plant out of its pot and separate the clump into several pieces that you can then replant separately.
Why take spider plant cuttings ?
Cutting a plant has various advantages. First, it allows you to have free green plants and almost infinite. Then it offers you a security cutting of your favorite green plant (we are never safe from a pest attack…!).
Taking plant cuttings can also be a great gift idea for a loved one who is moving in or discovering a new (and overflowing) passion for green plants.
Maintain your spider plant
Remove the dead leaves and for those that start to fade, cut the damaged part but leave the healthy part.
Water regularly but do not let the water stagnate: its big fleshy roots store water, your hairy spider plant can therefore withstand a lack of watering and can even resist a little to drought.
On the other hand, a soggy substrate will not suit it: the pot must be pierced at the bottom and the water must not stagnate in the cup.
In spring and summer
Your spider plant starts growing again, repot it if you notice that it is cramped in its pot.
A contribution of fertilizer once or twice a month will be very profitable to him.
To recreate the conditions of its natural environment:
- Make sure that the soil remains humid
- Mist the foliage to prevent it from drying out and turning yellow, preferably with non-calcareous water
In fall and winter
Reduce watering: water only when the soil on the surface is dry.
Do not give your plant any more fertilizer.
